In this step by step instructions I’ll teach you how to add presets to Lightroom Mobile in just a few minutes and how to use them.
P.s: this guide is valid for both iPhone and Android
Firstly you will need Lightroom Mobile (FREE) to use the presets, if you don´t have the App, CLICK below according to your phone, to download
LET’S START!
Step 1: Open the PDF file and tap on “Click Here”, it will open a window with the presets on Dropbox, download them one-by-one.
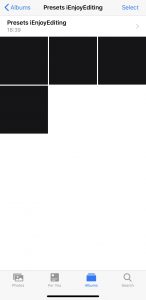
Now your dng files are saved in your gallery as black or white images (don’t worry this is normal) or color images, depends on what device you have.

Step 2: Import to Lightroom Mobile App
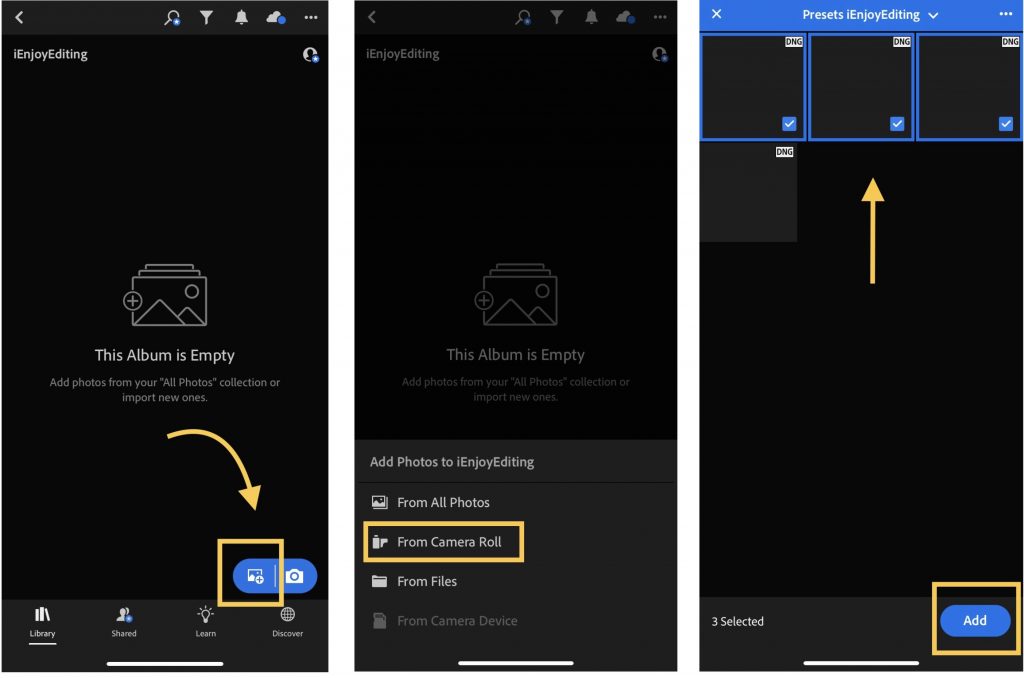
Open Lightroom Mobile and tap on the image icon in the lower right corner of your screen. Then Tap From Camera Roll. Select the downloaded files and then tap on the lower button of your screen Add.

Step 3: Create and Save your Presets
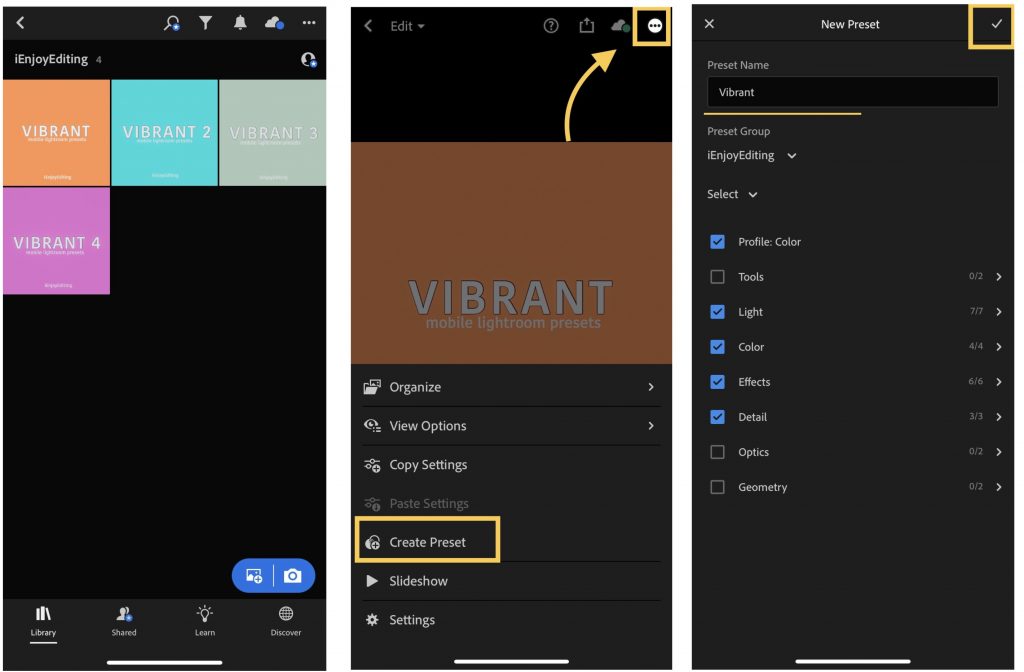
Now your dng files (presets) are in Lightroom, click on one of the dng file. Then tap on the 3 dots of the top right corner of your screen and then Tap on Create Presets. Name the Preset and Save it

Repeat these steps with the others DNG Files to save all the Presets 🙂
Step 4: Edit your Photos!
Import your images to Lightroom, then tap on one of the photos
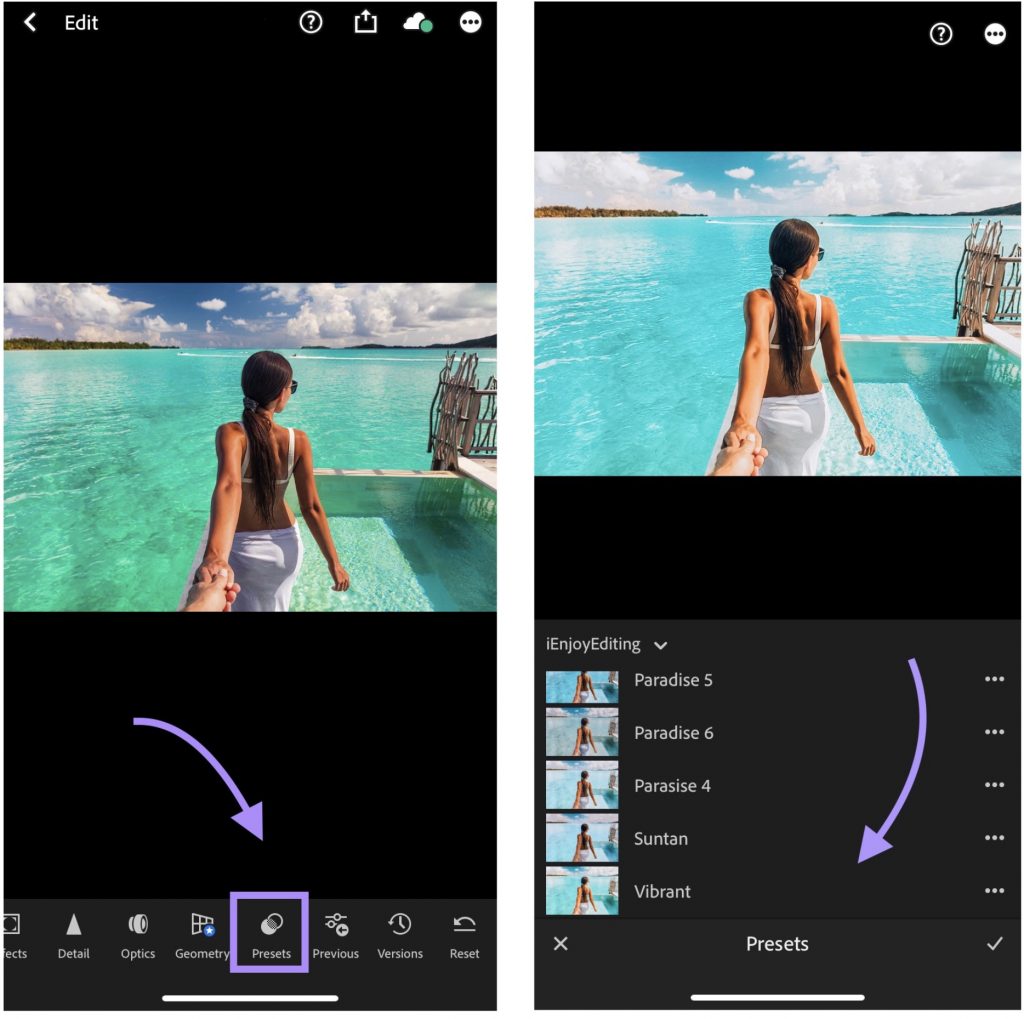
And now you can edit your photos with your NEW filters in Lightroom. Tap Presets, and choose preset!

Also you can adjust the presets to your taste!
How to make your skin look tanned in Lightroom Mobile?
Enjoy Editing!❤️

